How to Assemble A Screw Sand Washer?
Assembling a screw sand washer is completed by the manufacturer, and will be supplied to the customers after passing the no-load test. After receiving the screw sand washer, the user should carefully check in order to timely find and eliminate the possible problems in transit.
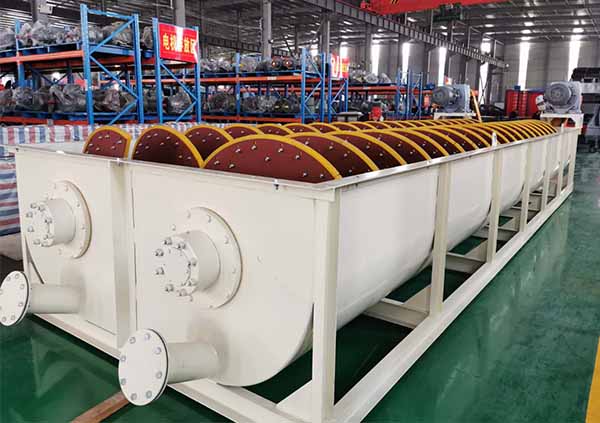
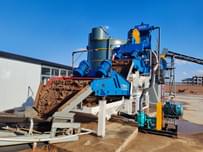
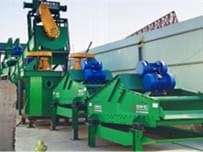
Screw sand washer is suitable for the washing, classification, removing impurities and other operations in sand and stone, metallurgy, building materials, water and electricity industries. And it has reasonable structure, convenient maintenance, large processing capacity, low power consumption, high degree of cleaning and more advantages, adjustable overflow weir plate, etc., ensuring this series of products Durability, good cleaning and dehydration effects, stable fine-grained products, etc.
How to assemble a screw sand washer?
Components
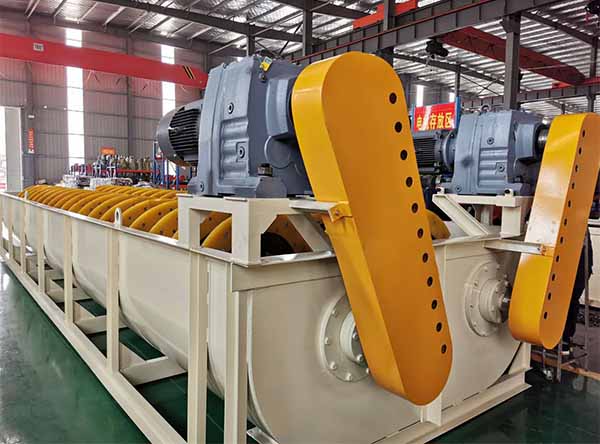
Gearing device: include motor, size pulley, triangle belt and reducer.
Spiral: including screw shaft, blade, liner. The rotation of the screw axis is dextral.The blade is solid; Lining board materials have manganese vanadium titanium wear – resistant cast iron, polyurethane. When the liner is worn out of use, it can be removed and replaced with a new liner. The liner is mounted with bolts, nuts and washers on the forward side of the screw in connection with the blade and overlaps with the blade for protection. The two ends of the spiral shaft are welded with flanges, which are respectively connected with the upper support and the lower support to meet the requirements of sand and stone washing, classification and dehydration.
Installation
1. Due to the large twist of the machine, it is recommended to install the spiral sand washer on the concrete foundation. There are pre-embedded weldments on the foundation for welding during installation. The depth and area of the foundation are calculated separately according to the soil conditions. The recommended foundation weight is approximately 3 times the weight of the machine. For the installation dimensions of the machine, refer to the foundation drawing.
2. After installation, you should check whether the gears of the reducer are shifted, and the gap between the water tank and the big bucket is consistent. After adjustment, the machine is fixed and welded on the foundation.
3. Should be filled with lubricating oil, adjust the height of the oil level, generally take the shaft center below 50% is appropriate.
4. The load test should meet the following requirements: (1) When feeding, the material must not be strongly impacted on the water tank, and it is not allowed to load and stack the water tank unbalanced to avoid damage to the bucket and the body. (2) The relatively large feed rate meets the design requirements.




Send Message
Please write down your requirement and contact details in the following form. You can also send a message to us by this email export@lylzzg.com, we will reply to you within 24 hours.